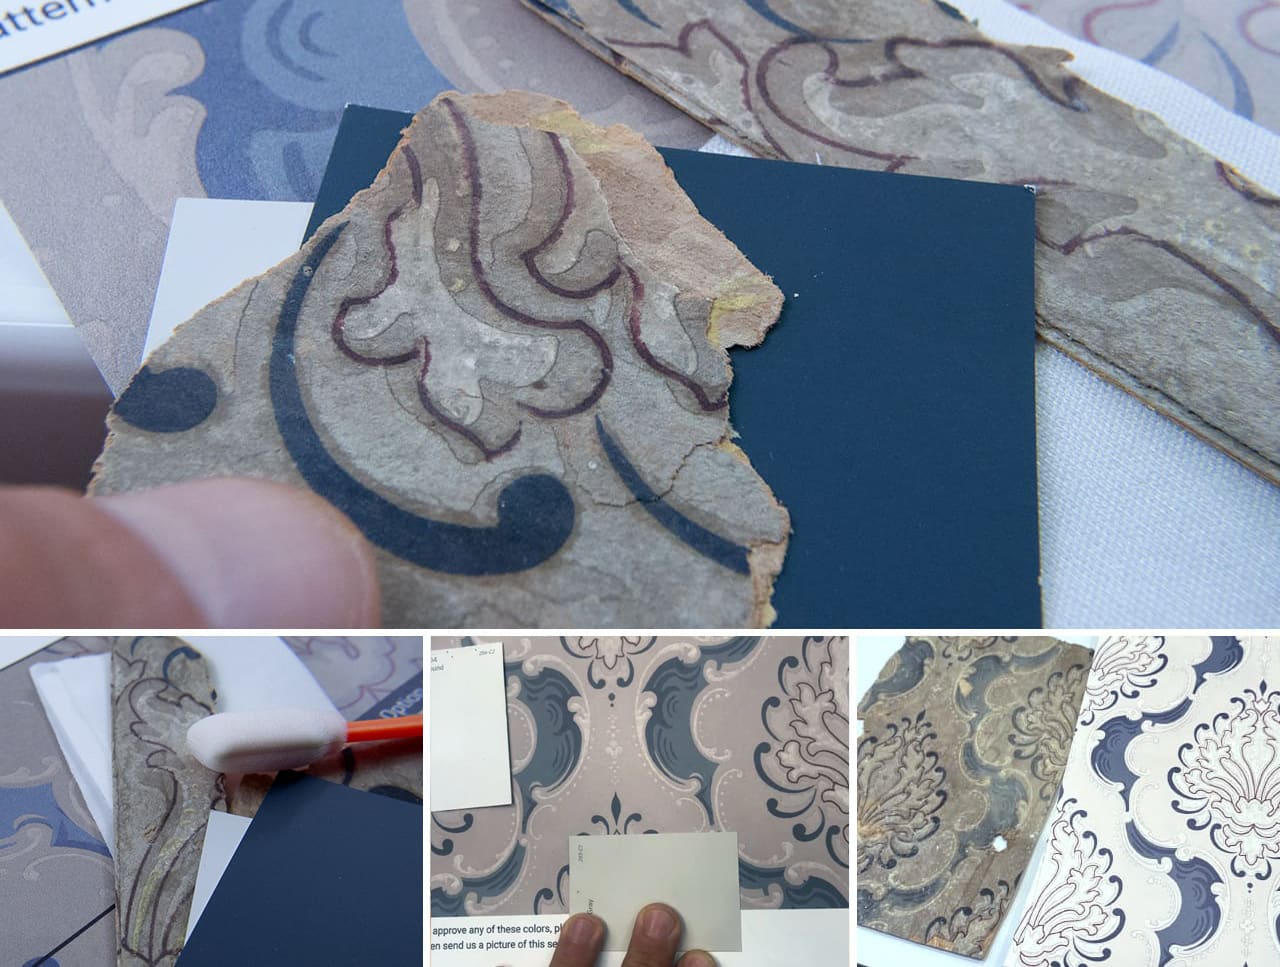
A homeowner from Columbus, Ohio inquired about a 1920s wallpaper from her father’s childhood home. It was an ornate damask pattern on beige parchment which was critically damaged. She was hopeful about replicating it though not 100% confident it was possible given the state of her sample, which arrived in a ziplock bag in various pieces. We sent the largest piece to be scanned and kept the smaller ones for color matching.
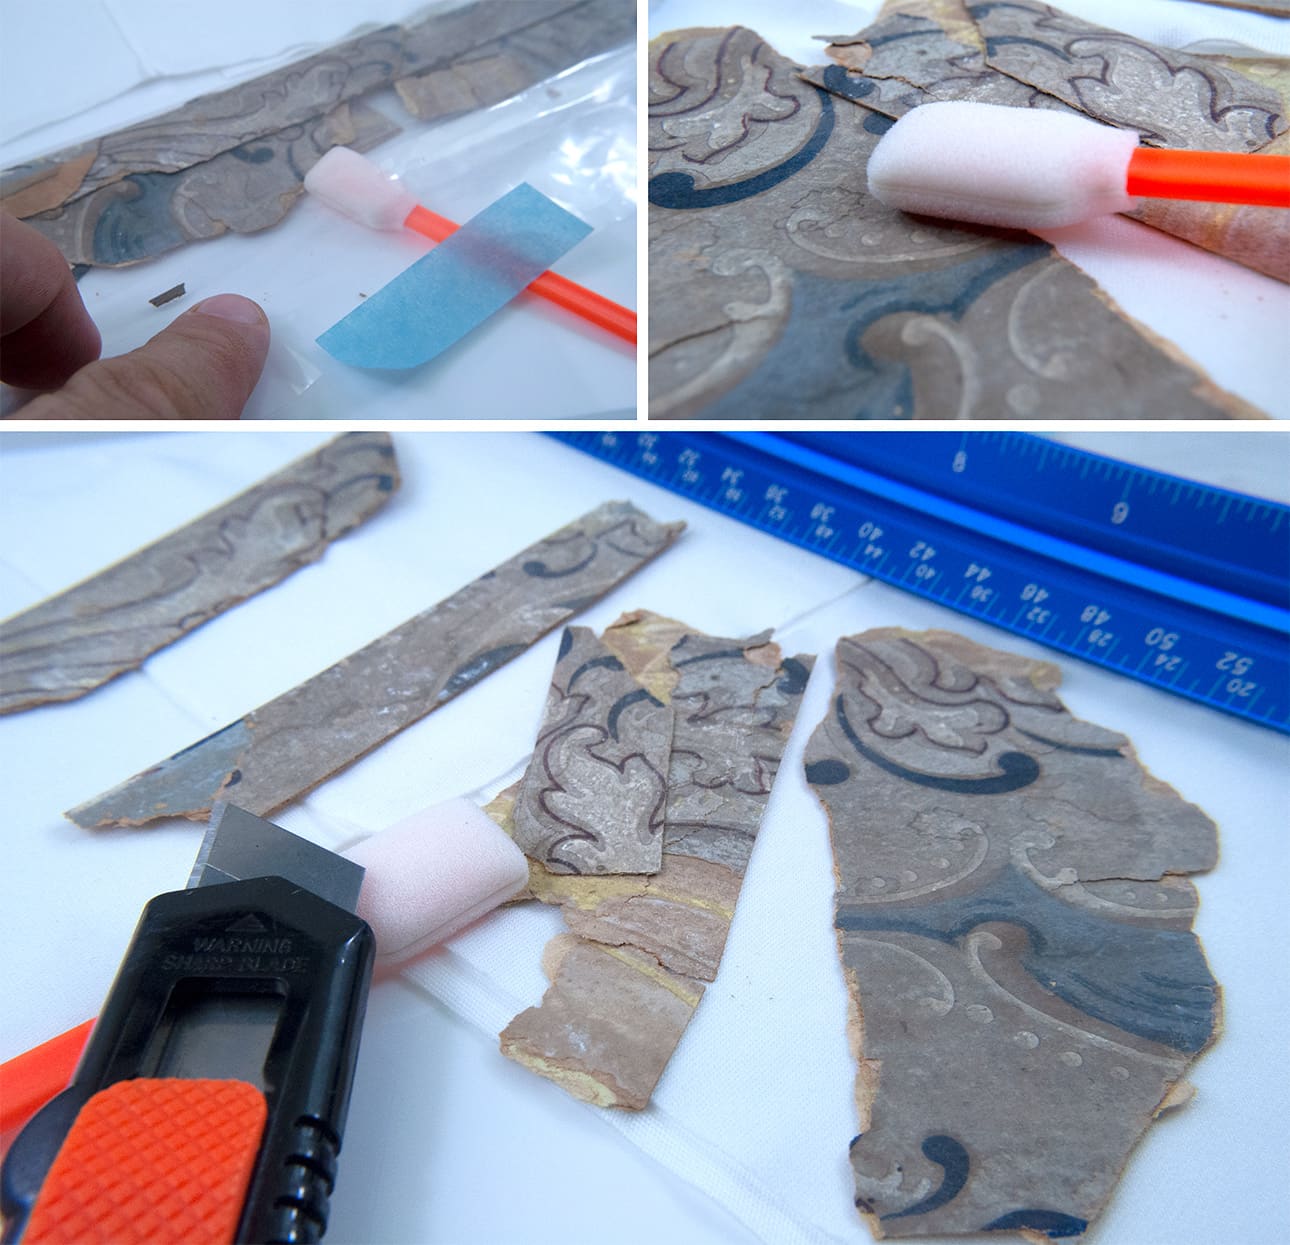
Prognosis: Antique damask pattern with damage, stains, blemishes and incomplete portions.
The samples were so delicate that they needed to be handled with gloves in a controlled environment so that they would not crumble. Adding to the challenge was the most incomplete wallpaper sample we’d worked with thus far. More than half of it simply wasn’t there. Thankfully, it featured a symmetrical design, which meant that our designers would be able to clone some of the existing areas. It wasn’t going to be easy, but it was possible!
The Reproduction Process
Technology Used to Restore This Wallpaper:
- Printer: Mimaki UCJV 300-160
- Material: Dreamscape Nolar
- Inks: UV-Cured CMYK for Durability and Fade-Resistance
- Retouching: Adobe Photoshop
- Reconstruction: Adobe Illustrator
Step 1: Retouching & Clean Up
Before we could reproduce the missing areas, we need to ensure the existing ones looked as flawless as possible.
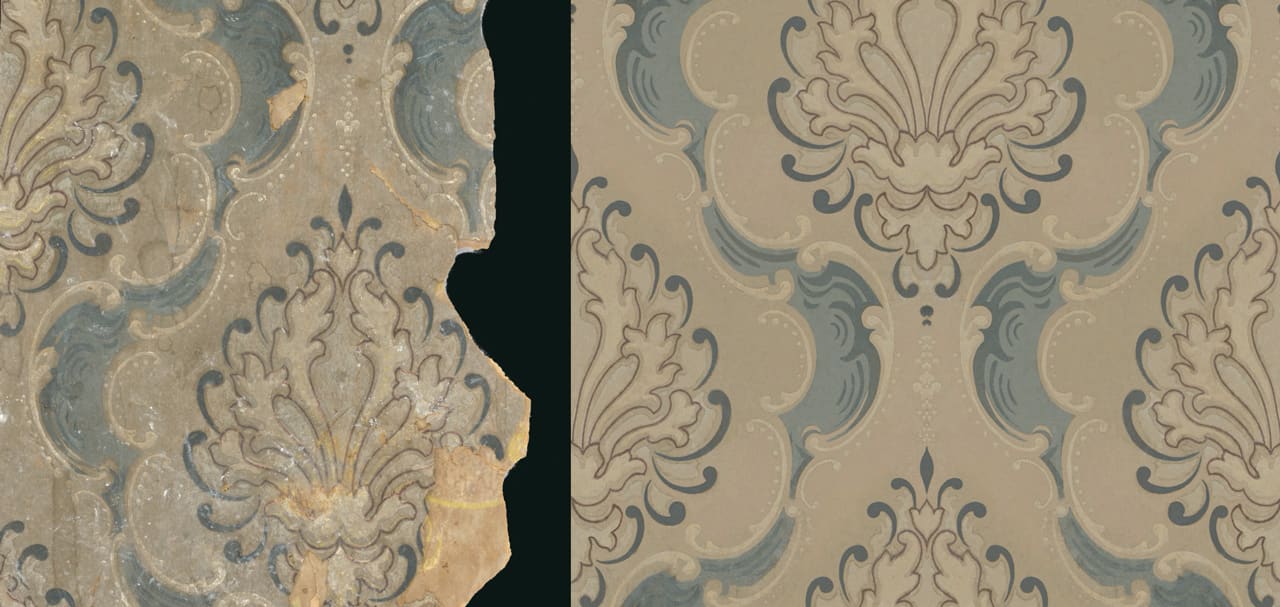
Using Photoshop to erase a century of deterioration.
Given the amount of wear, tear, dust and rot which had ravaged this antique wallpaper, this task took our team several days of diligent work to complete.
Step 2: Reconstruction: Filling In The Blanks
With the source amterial fully cleaned up, I decided to run point on the reconstruction effort. Given its organic texture and grit, this particular design was going to be a challenge. Thousands upon thousands of points, lines and shapes would be required to create a convincing replication. My 30-years of experience in vector graphics would speed this process up significantly, ensure maximum authenticity within an acceptable time frame for the client’s needs.
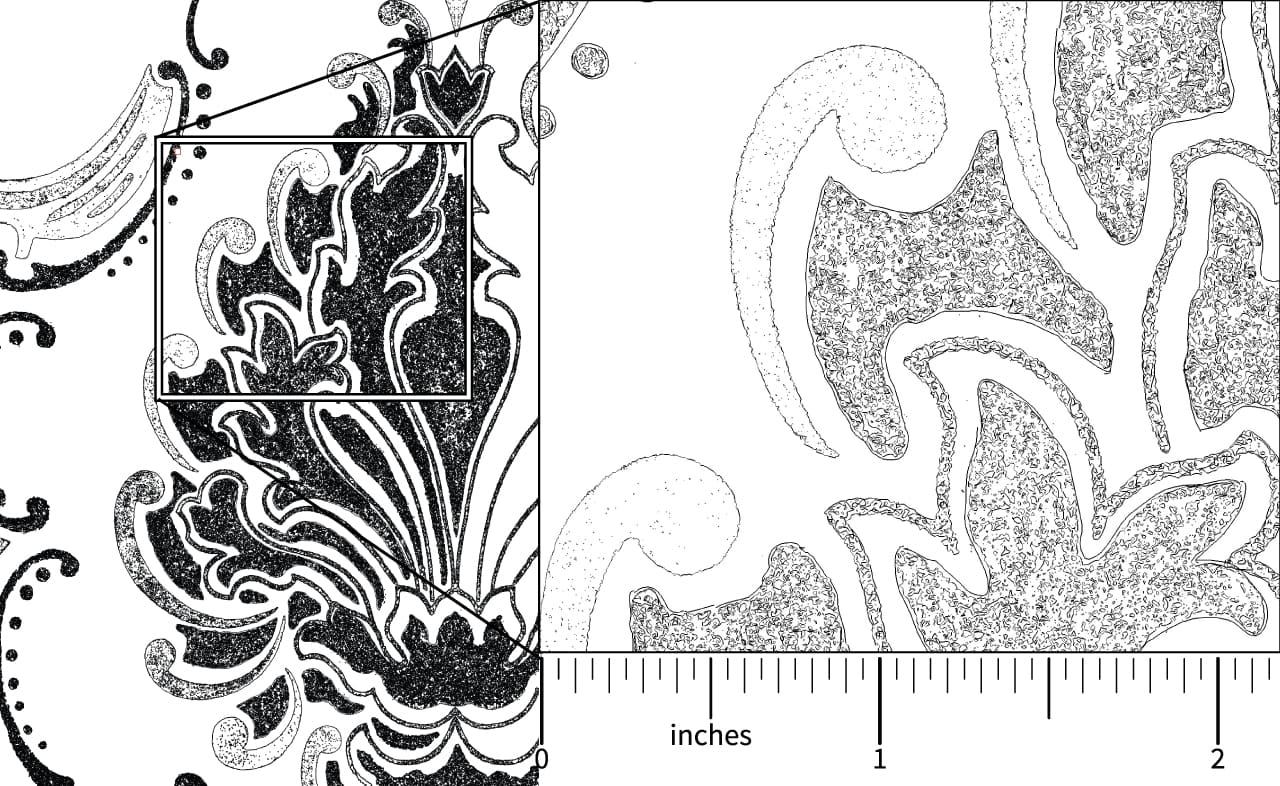
Recreating painted textures with solid shapes requires a great deal of skill and patience.
Step 3: Color Separation
In order to effectively match the original sample, we first had to ensure that each color was completely isolated. Most people are unaware of this aspect of the color matching process, but it is critical to have our color layers organized so our color matching department can work their magic.
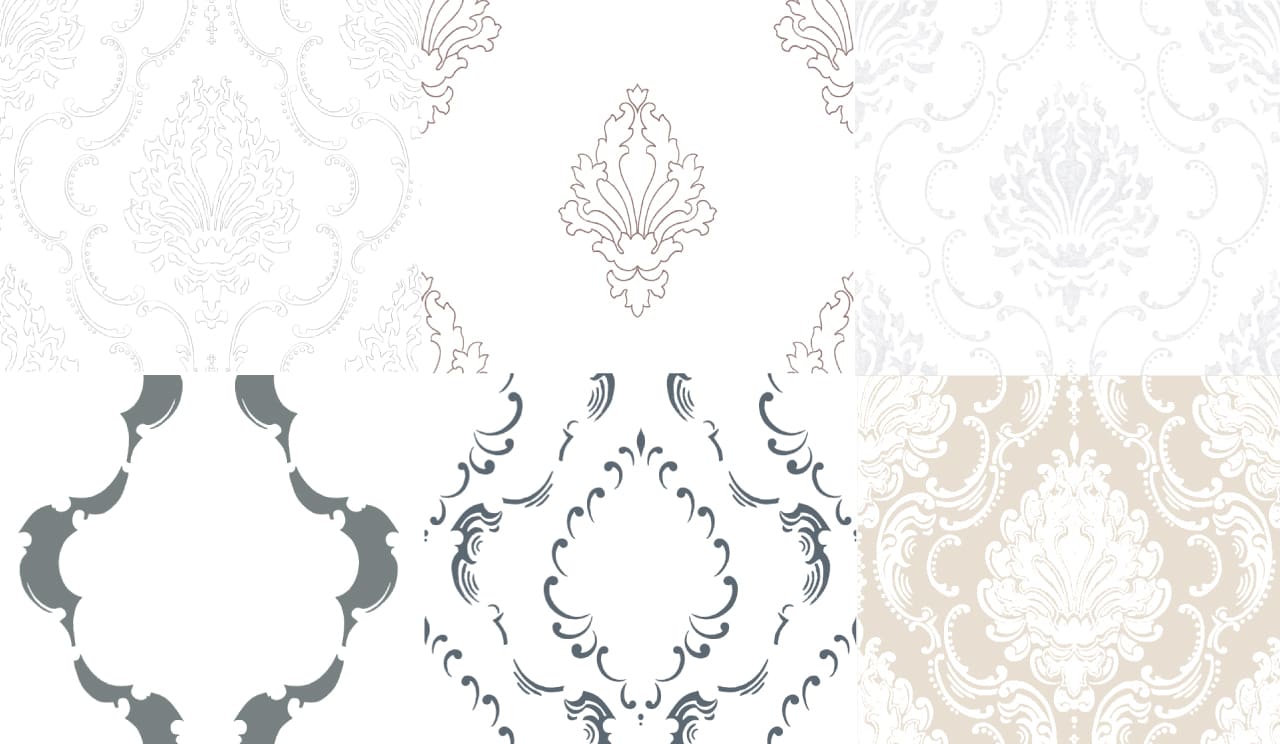
Six individual layers representing each of the colors of the original. Ready for matching.
Step 4: Color Matching & Sample Proofs
With our colors effectively organized we began to experiment with colors. We sent a first round matching their sample. The client was very impressed, however they felt that the sample itself was too degraded in color and wanted a cleaner look.
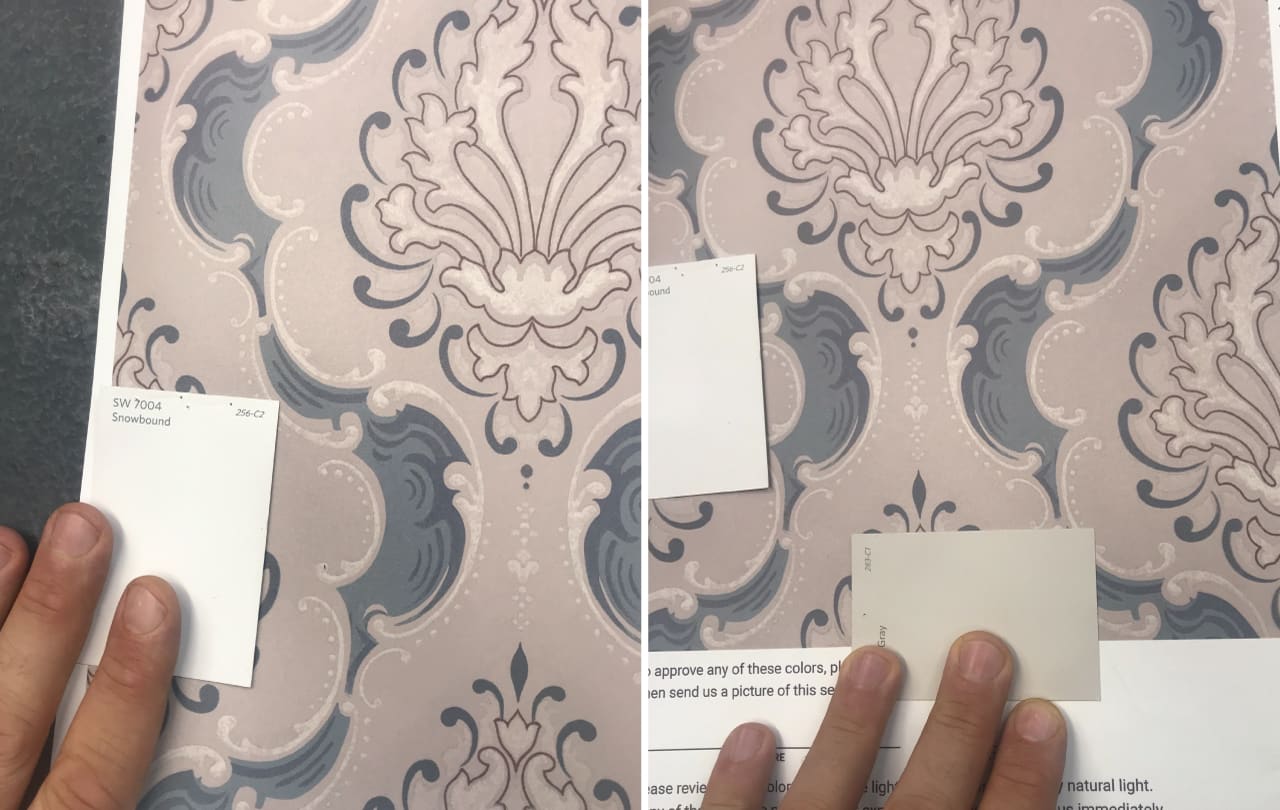
Color standards like Pantone and Sherwin Williams are indispensable for color matching.
After a bit of work with professional colorbooks, we shipped out a new set of proofs with a cleaned up palette for review.
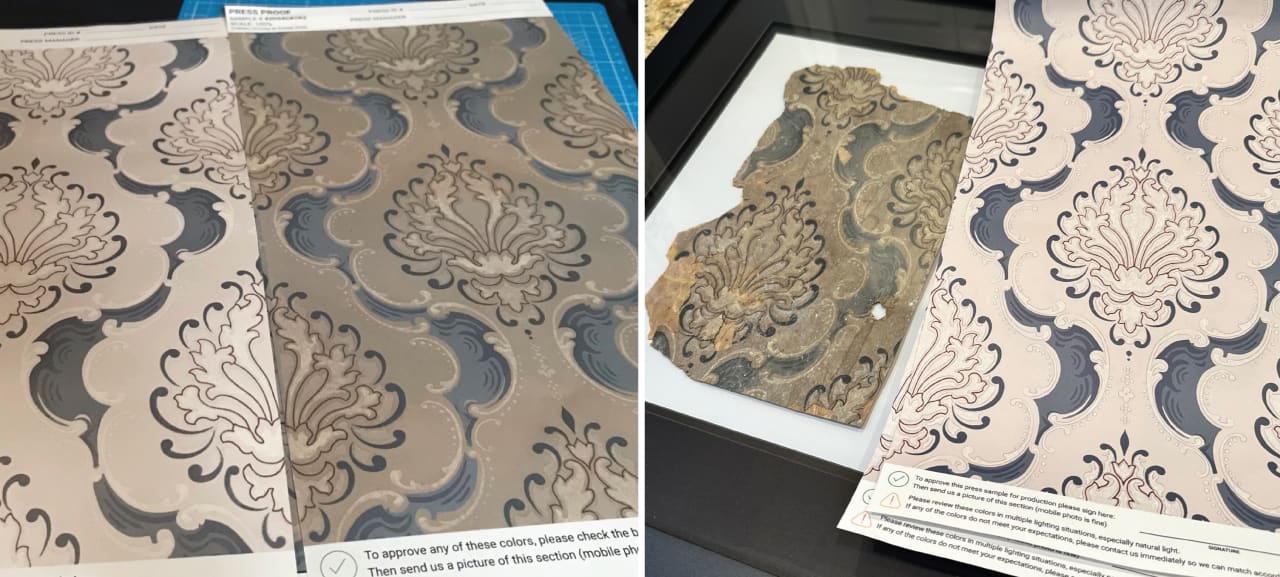
The progession of color changes, leading up to a match, next to largest piece of the original.
Step 5: Reprinting the Wallpaper
Upon receiving the samples, the client reached out to us with profound gratitude. For many years this wallpaper had held a deep significance to her family, forming a backdrop to her childhood and a connection to her father. Seeing it completely restored to its former glory was quite emotional and we were happy to finally print the rolls that they needed.
Overall this project was rewarding for us, not just at the level of professionals but a certain measure of humanity from helping people make meaningful connections to their roots.
