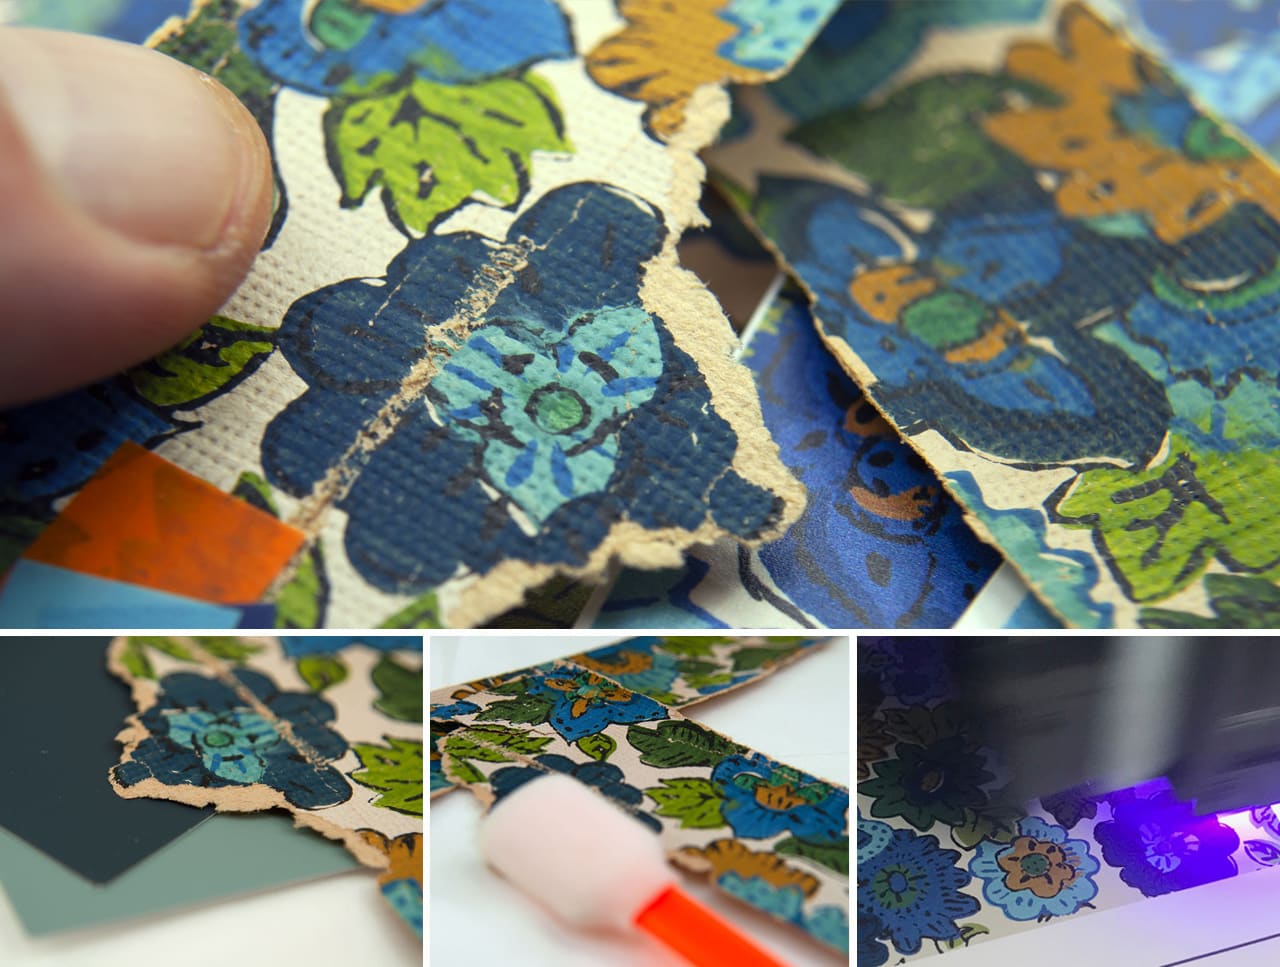
On a recent project, a client was remodeling their colonial home and trying to replicate an antique wallpaper that they discovered while renovating the house. This pursuit would last a full year, and like many homeowners in the same position, they began to wonder “Is this even possible to replicate?” “There must be a company that can clone out of print wallpapers”. That’s how they found us online.

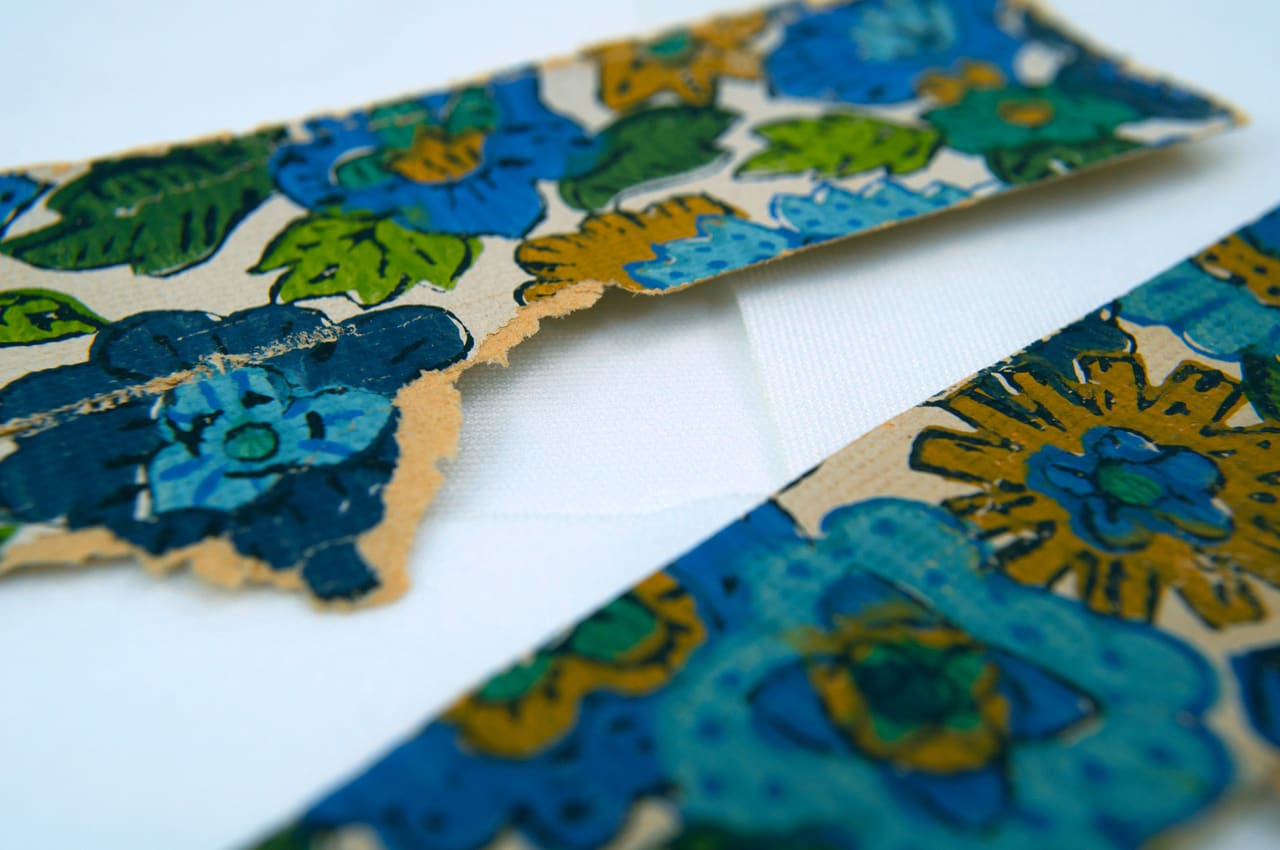
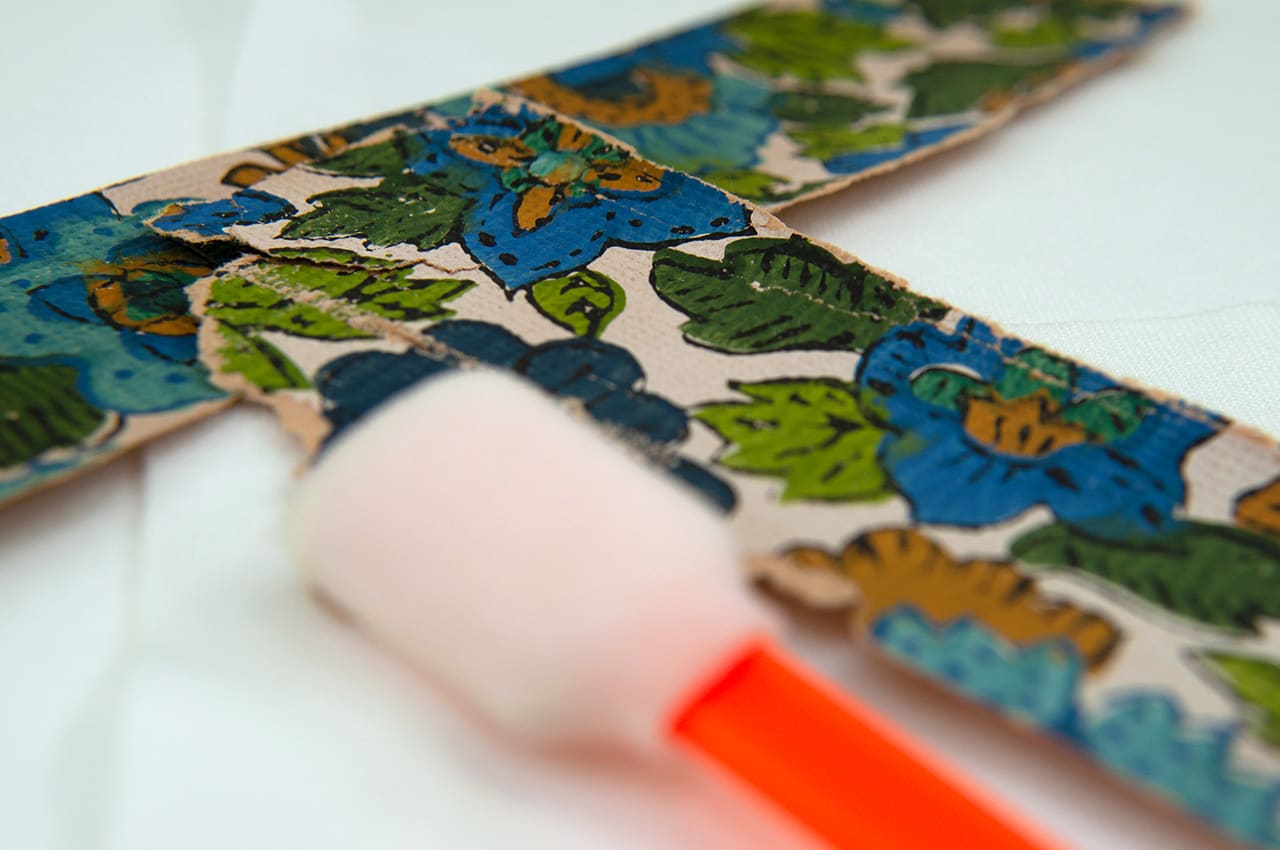
Prognosis: High Damage, Very Intricate, Faded Colors
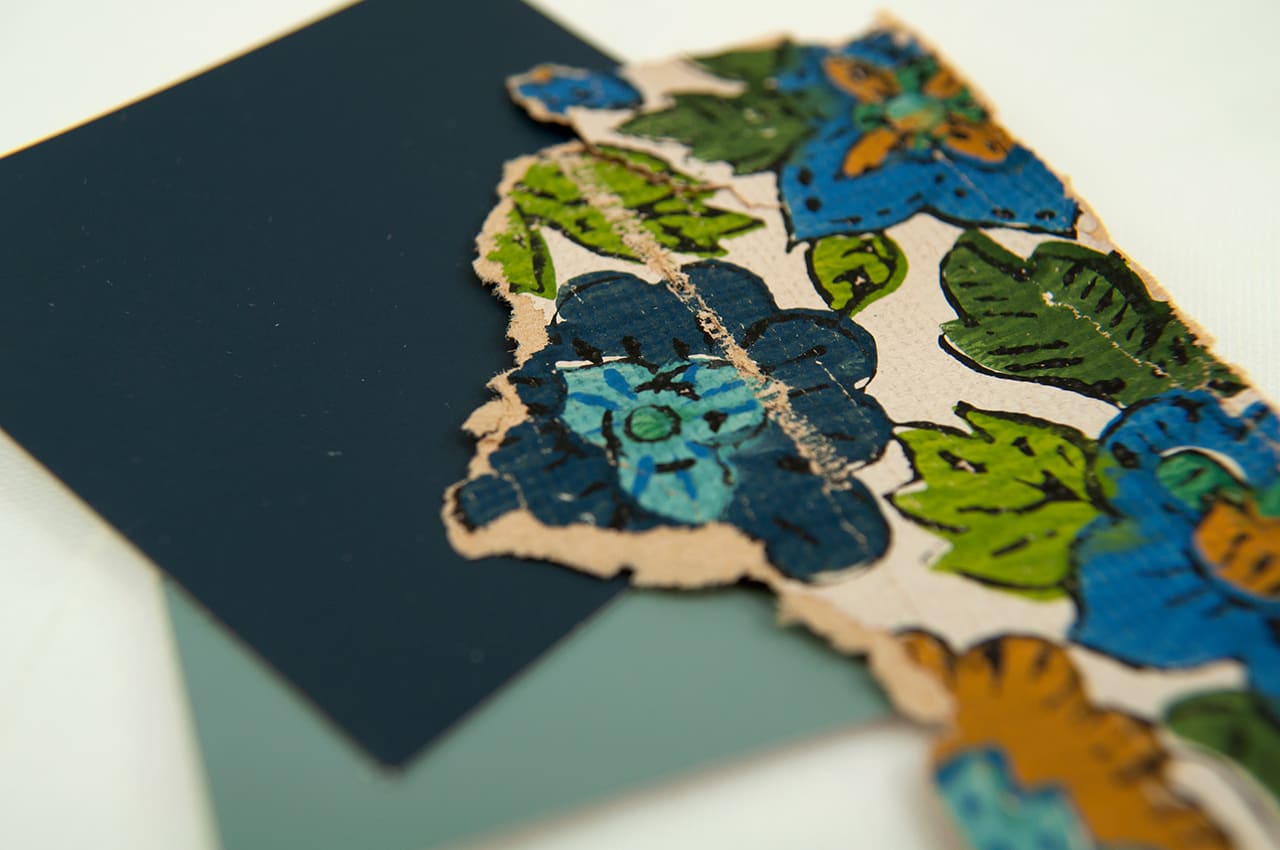
Their doubts were not unfounded. The original wallpaper was mostly intact but had suffered significant damage from water and mold, leaving it in tatters. As you can see from the photo the sample arrived in various pieces.
Adding to this challenge was the fact that a significant portion of the design was not included in the sample, with only a blurry low-quality photo as a reference point.
The Reproduction Process
Technology Used to Restore This Wallpaper:
- Printer: Mimaki UCJV 300-160
- Material: Dreamscape Nolar Smooth Media
- Inks: UV-Cured CMYK for Durability and Fade-Resistance
- Retouching: Adobe Photoshop
- Reconstruction: Adobe Illustrator
Step 1: Cleaning Up
Our first priority was to clear away the damage on the pieces that were submitted. While we don’t mind some grit in our wallpaper for authenticity, such blatant flaws must be completely eliminated.

Our 1000 dpi scans revealed lots of scratches, stains, rips and blemishes, all remedied in Photoshop.
Step 2: Reconstructing Missing Patterns
As mentioned earlier, the provided samples were incomplete. Thankfully the client did have a low resolution photo of the entire design. While it was anywhere near print-ready, it was suitable reference point to rebuild from.
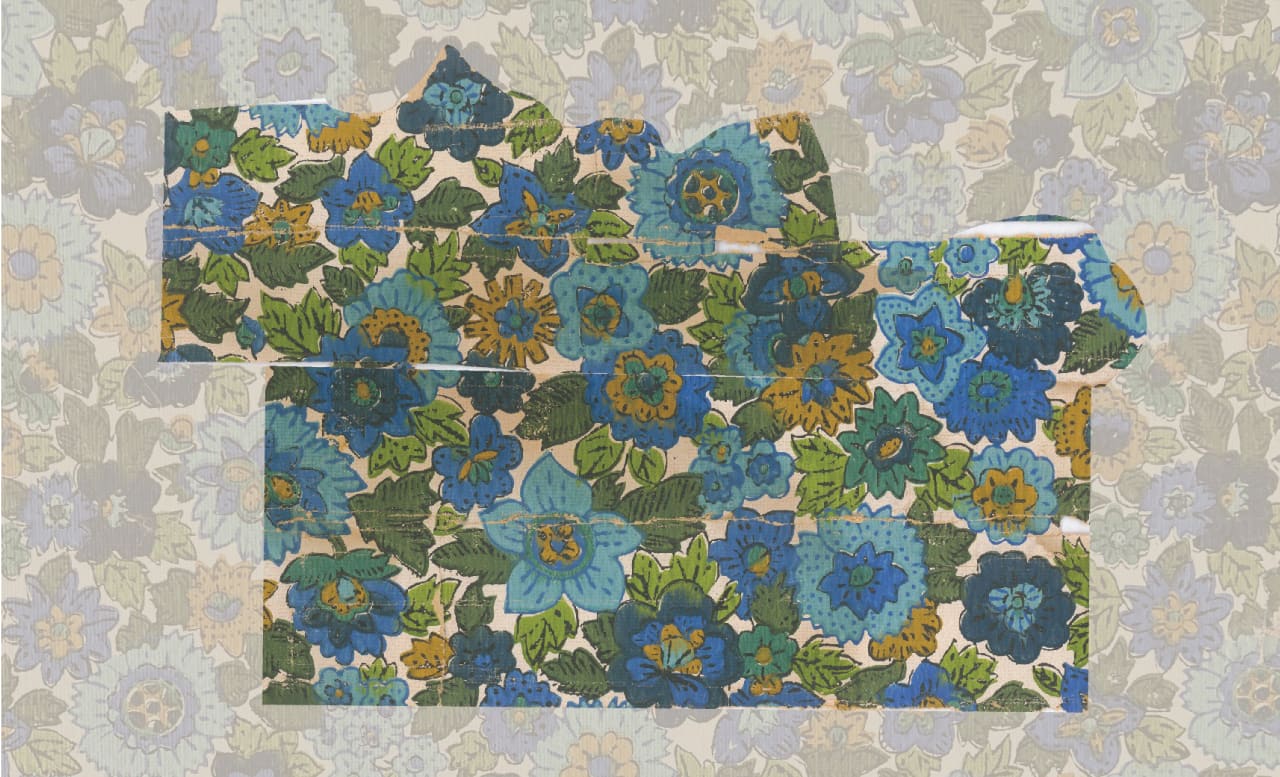
Pasting the scanned samples on top in order to begin reconstruction
With everything in place, our artists begin their intricate work, capturing all the detail and nuance of the original sample, including the texture of the ink and surface area.
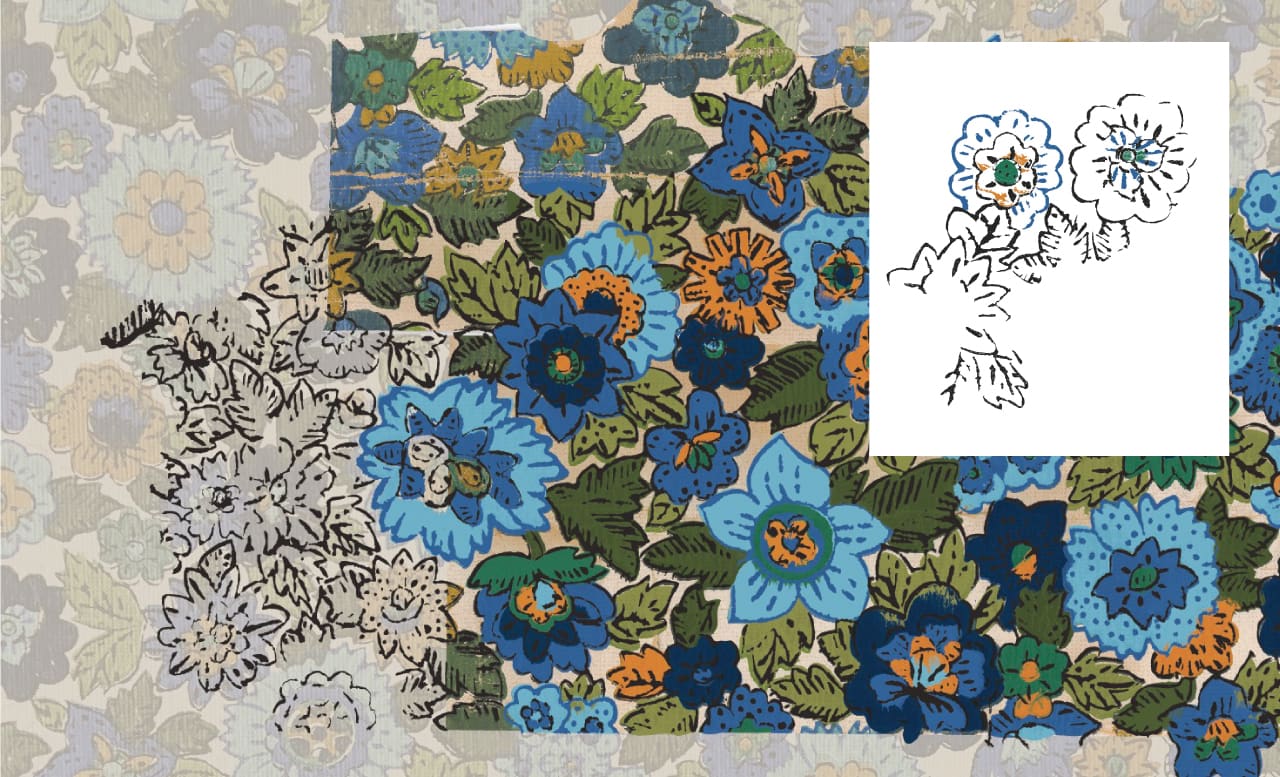
Since it takes thousands of tiny shapes to great this effect, this portion of the recreation process is by far the most labor intensive.

The design may not be very large in size, but its textures and intricacies required hours of steadfast work and intense organizational skills to make sure the colors were grouped together correctly.
Step 3: Color Separation
With the original design fully intact and set up as a seamless repeat, our artists trace and isolate each of the 8 colors.
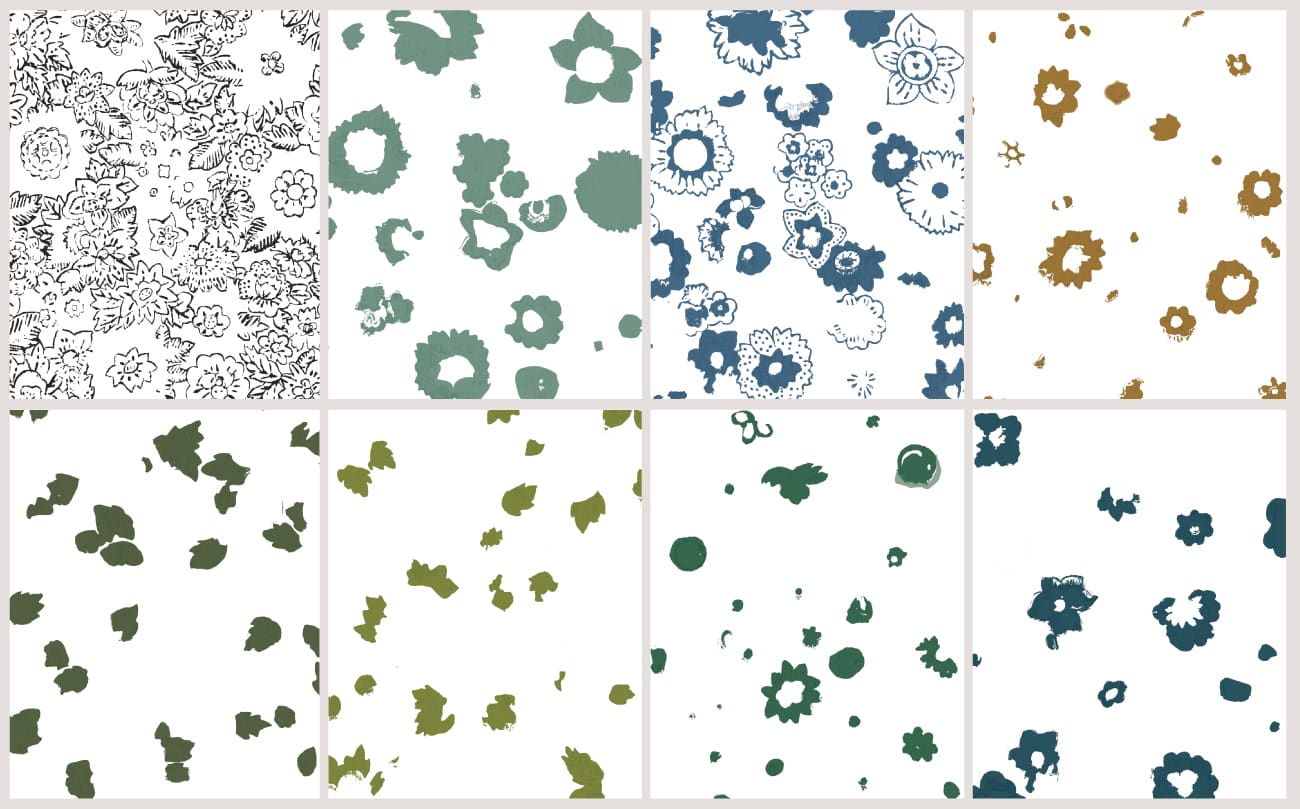
By separating each color on its own independent layer, our prepress team now has the tools it needs in order to establish and fine tune the colors.
Step 4: Color Matching
From our initial conversation they had mentioned cleaning the colors up, so we presented them with a “scrubbed” version of their pattern. The print featured a cleaner, more vibrant palette.
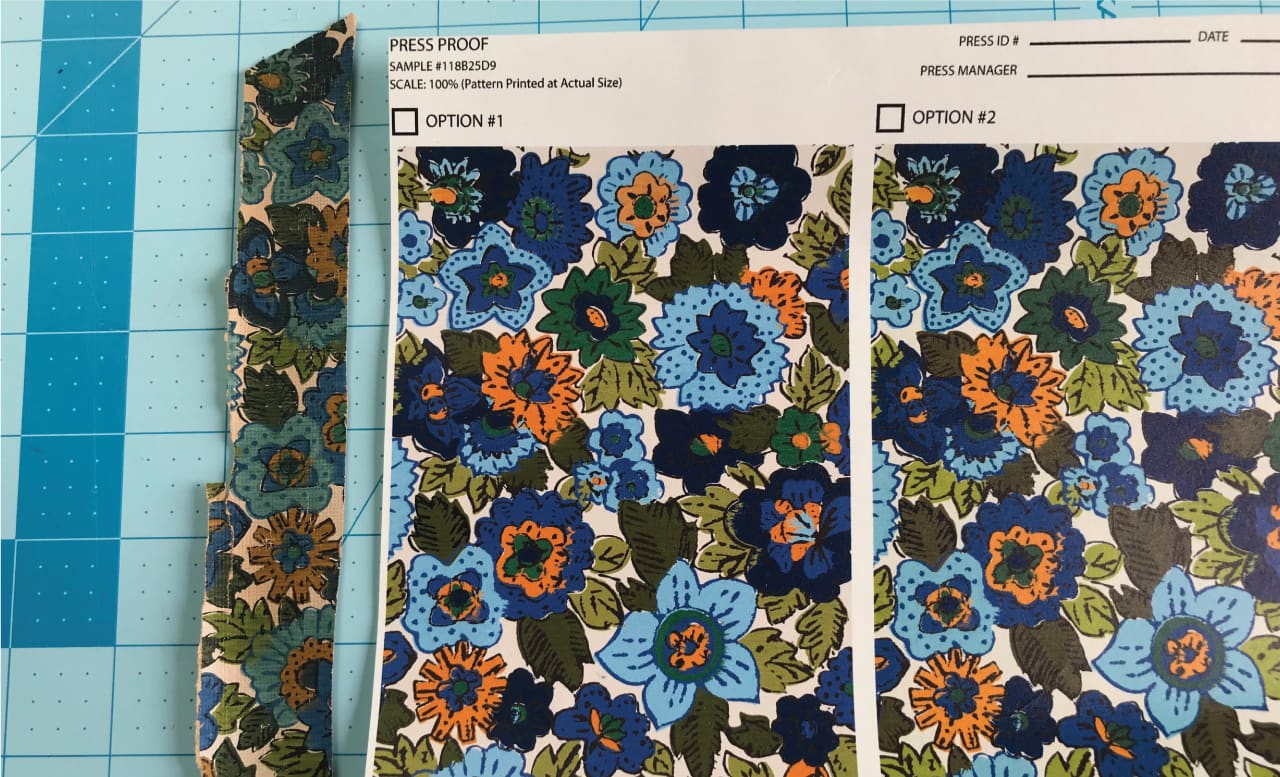
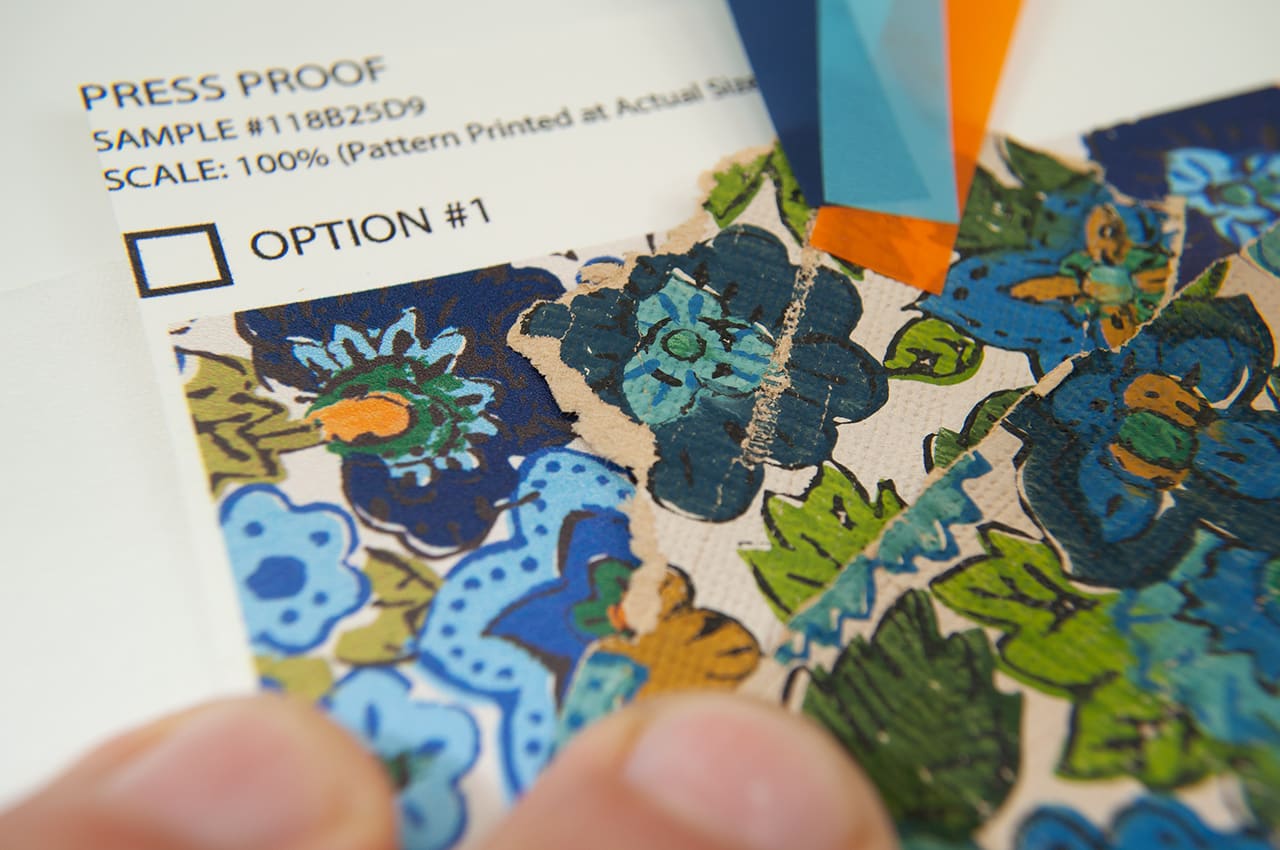
The clients are happy to finally receive a printed sample. They’re enthusiastic and satisfied by the printing quality and the hard work of our artisans.
However, it turns out they had grown attached to the weathered palette of the original, so they requested a more accurate match, based on some colorbook samples.
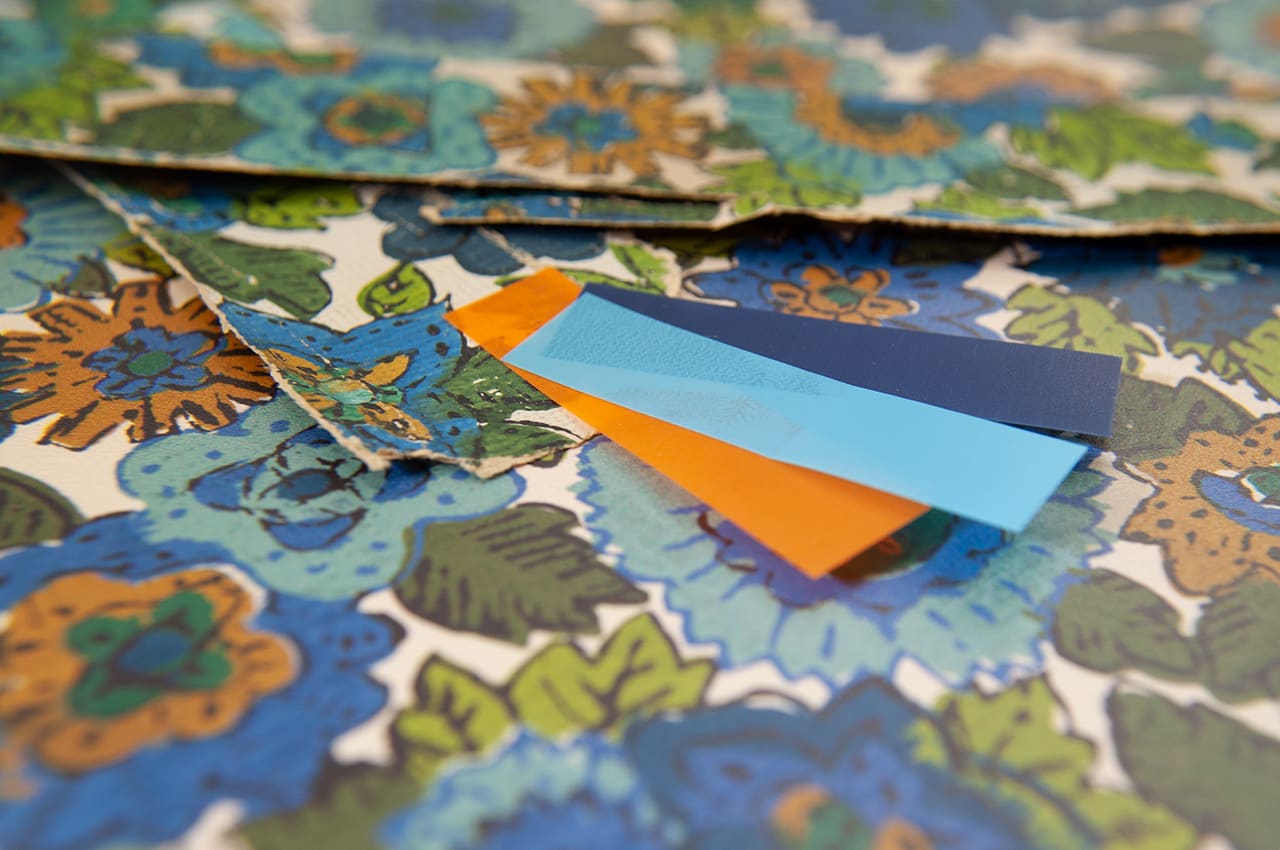
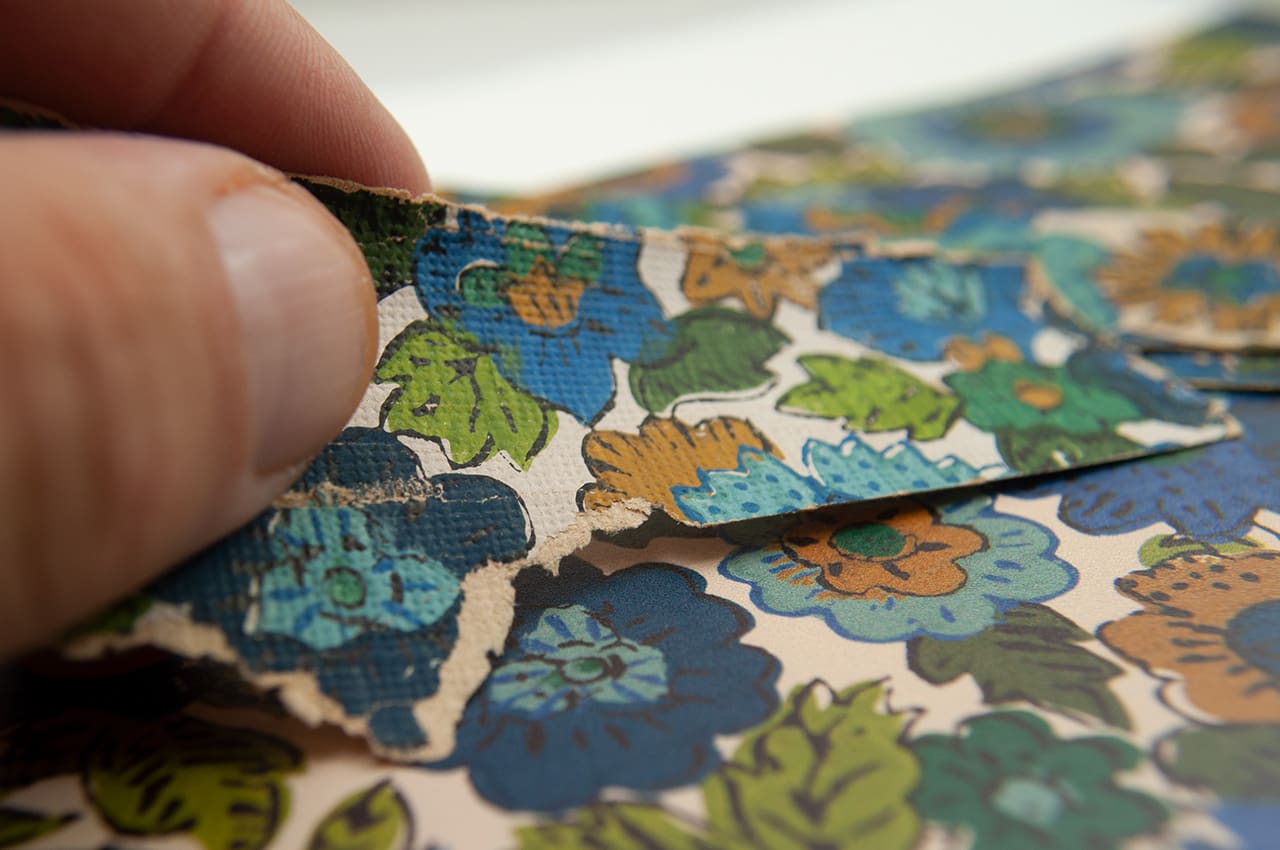
Within a few more iterations we got them to sign off on the colors. Still a bit cleaner, but definitely more inline with the original.
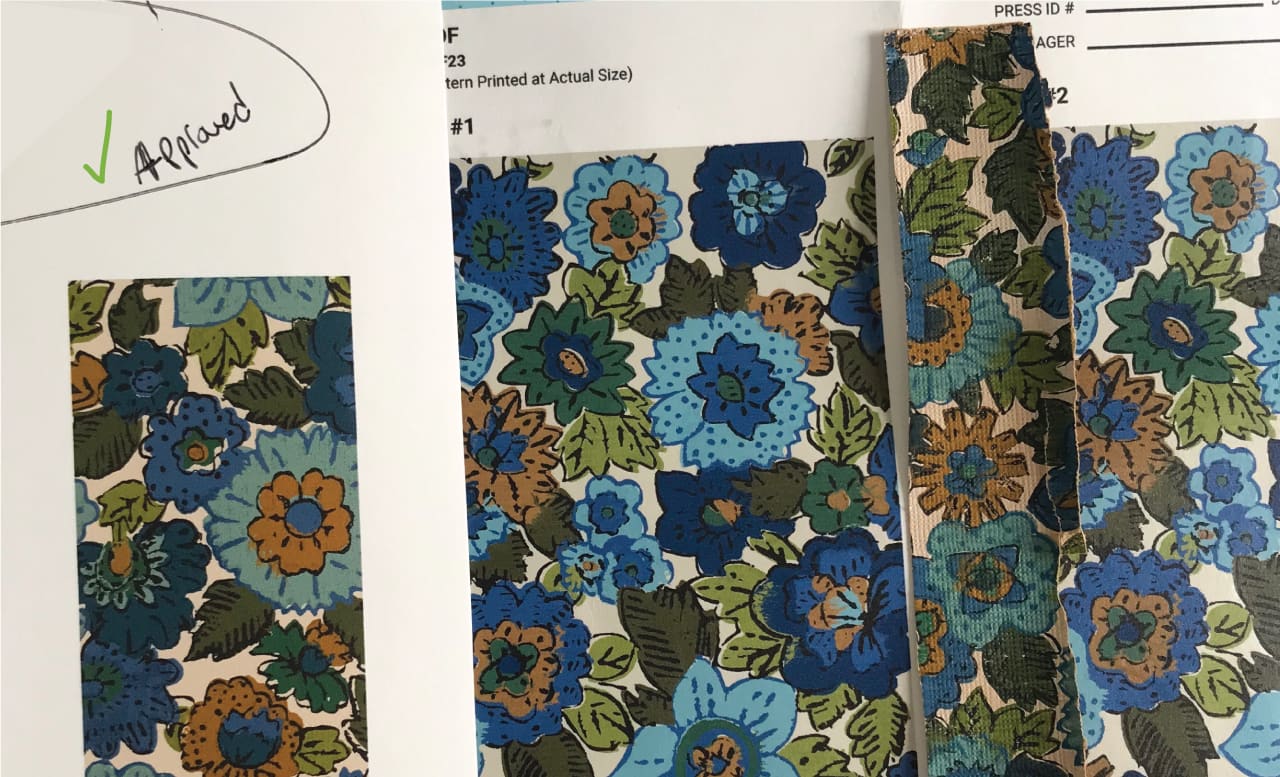
Step 5: Reprinting The Wallpaper
With full approval of colors attained, we finally printed several rolls. Our technicians monitored the process to ensure sufficient ink levels and consistent color across the entire print run.

